

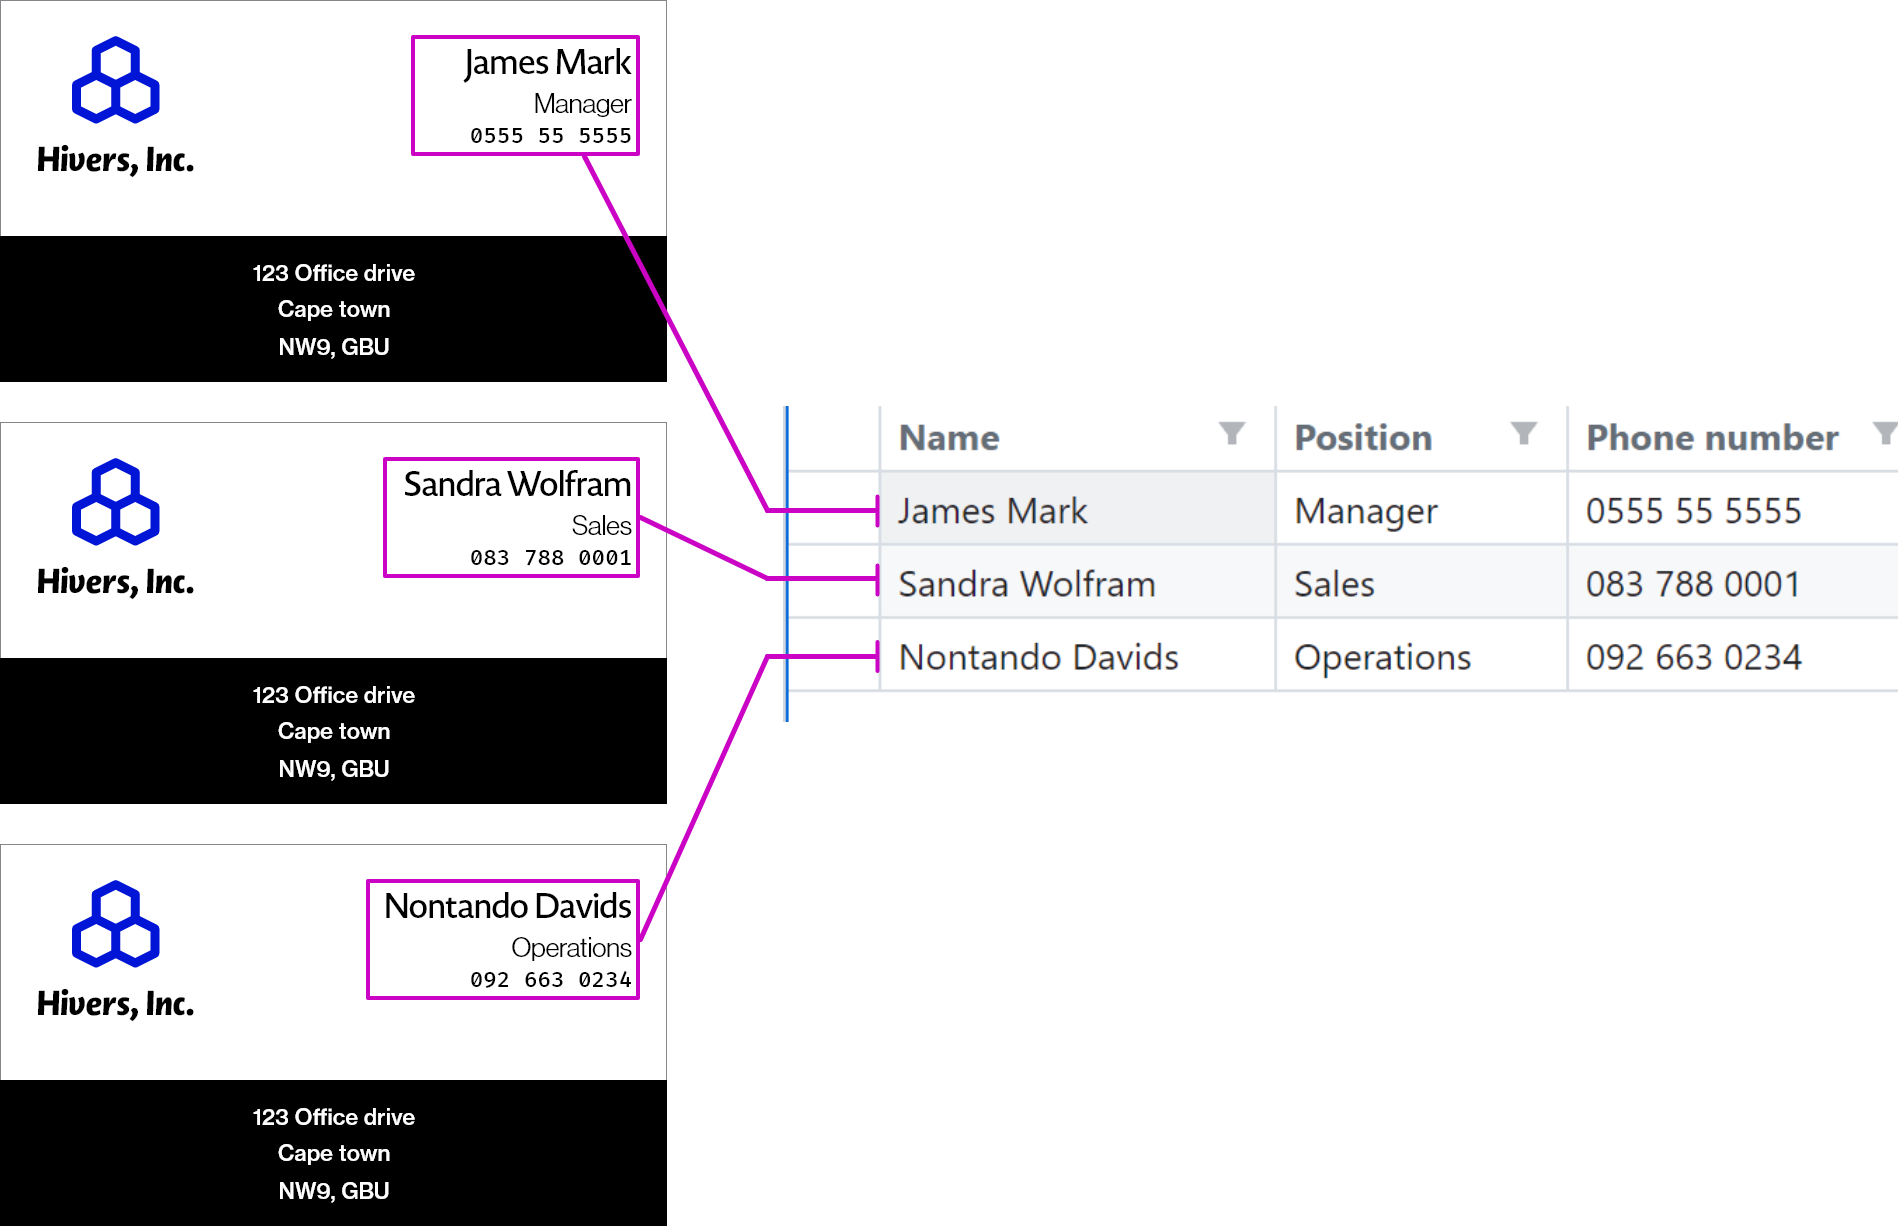
Creating 3 Business cards with a CSV datasource
- List (shown as CSV Upload in the classic editor) - Your customer fills one row per copy: typed in, pasted from a spreadsheet, or imported from a CSV file
- Range Mode - Records are generated by your customer specifying a number range with a starting value
This is useful for generating products like Marathon Bib numbers.
How to create Mail Merge Designs
- To get started, load a Design or open one for edit from your Admin Designs page
-
Click the Design tab on the left panel and then click the
Add Modulebutton and click Mail Merge from the list.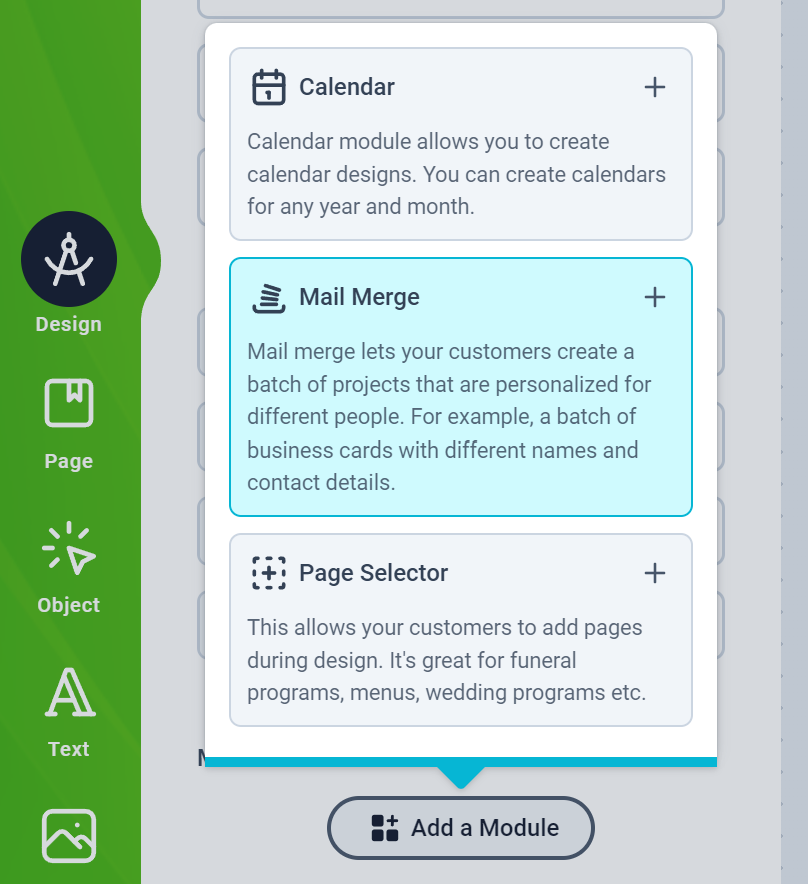
-
Next, you will see the Mail Merge configuration form as shown below:
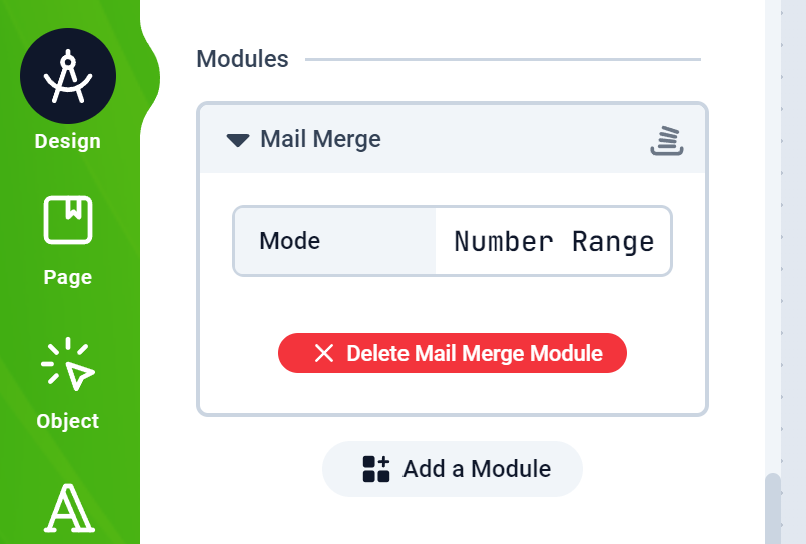
- All you have to do is select the mode and add the Text placeholders to your designs. The Text placeholders are described below
Range Mode Text Placeholders
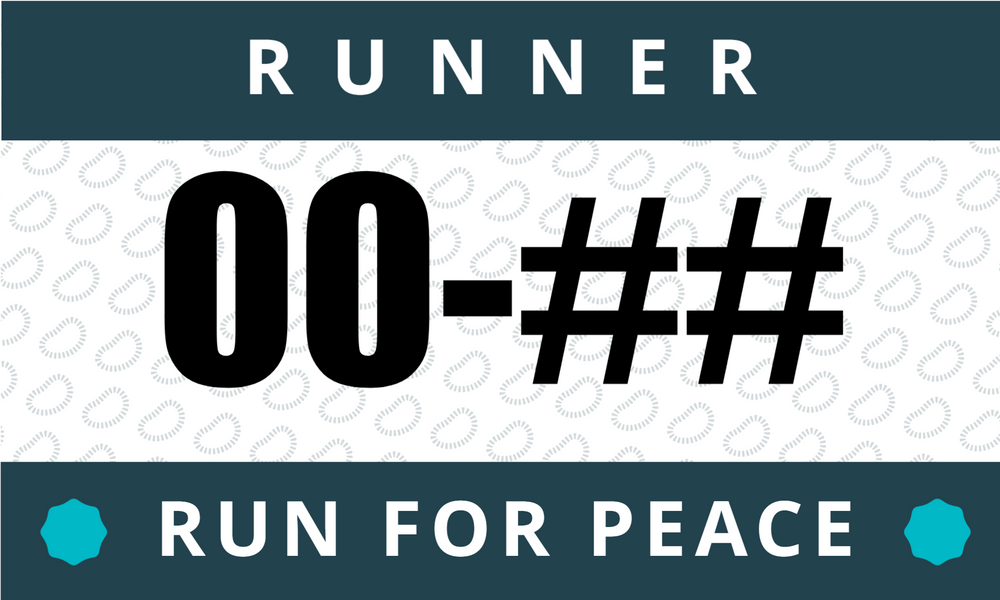
The Range Mode generates records using numbers. It presents your customers option to set a starting number and quantity. To create a placeholder, just add a text with double hash. Anywhere the double hash is encountered, the index number will be inserted. Eg:00-##. The number 234 will replace the ## and render: 00-234
List Mode (PrintFX editor)
In the PrintFX editor, the CSV Upload mode is a list your customer fills in, one row per copy:- The fields come from your design. Every Smart Text is a field: a Smart Text with a title is filled as a whole (title
Name), and a template with placeholders fills each placeholder (Dear {Name},). Texts that share a title, on any page, all take the same value. - One field (for example place cards with a name): the customer types straight into the rows. Enter adds the next row, and pasting a list (one name per line) fills as many rows as it has lines.
- Several fields (for example business cards): each row shows its first field, with a pencil to edit the whole row in a small form next to the list. A range copied from Excel or Google Sheets can be pasted into the first field of a row.
- CSV import adds the file’s rows to the list. Columns are matched to the field names (not case sensitive); columns nobody uses are ignored and reported.
- The canvas shows the selected row, so your customer sees each name fit as it is typed. A row with nothing typed yet shows your design’s sample text; once anything is typed, the row looks exactly as it will print, empty fields included. A row selector above the canvas pages through the rows, in the preview as well.
- Required fields (
{!Name}) are checked on every row before the customer can submit. - Lists are limited to 250 rows per order.
CSV Upload Mode Text Placeholders
The CSV Upload mode uses the same template a Datasource does. You basically create a Smart Text with a title. The title corresponds to a column name in the CSV file. For example a Text titledemail will have its content replaced with the corresponding email address value in the CSV record for that row
Here’s a detailed article on how to create Smart Texts