

The layouts and most of the styling options on this page (date position, lines, background switches, weekend text color and date format) are available in the PrintFX editor. The classic editor draws the standard grid.
Add the Calendar module
To get started, load a Design or open one for edit from your Admin Designs page.1
Add the module
Click the Design tab on the left panel, click the 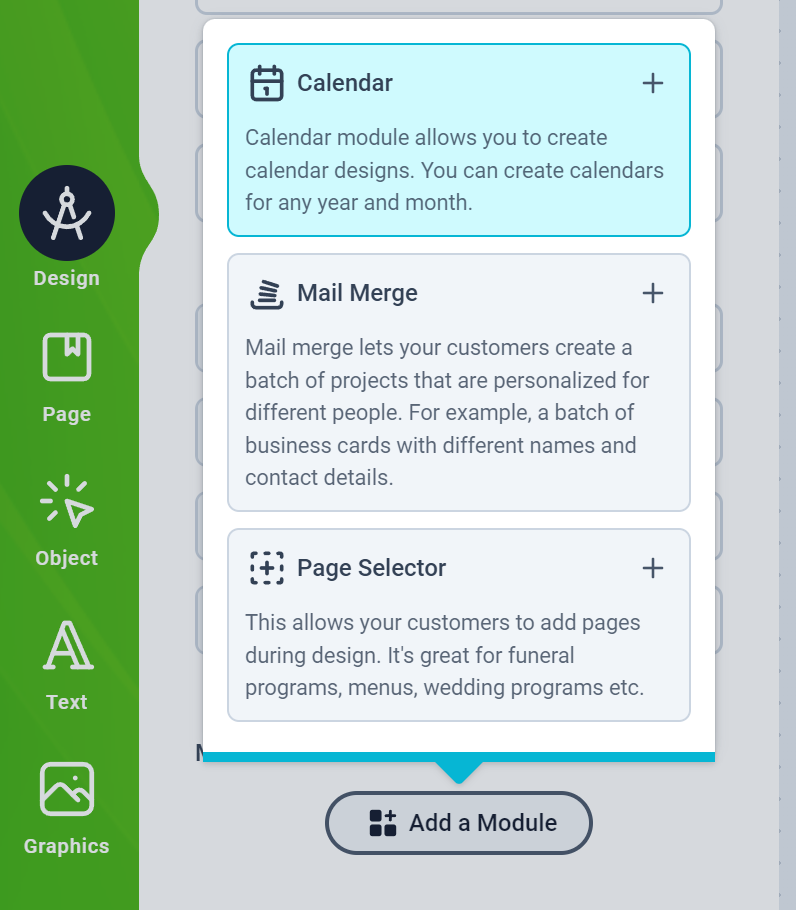
Add Module button and choose Calendar from the list.2
Add a month
Once the module is added, a button to add a calendar month appears on the top menubar. Click it whenever you need a month, and it’s placed on your canvas.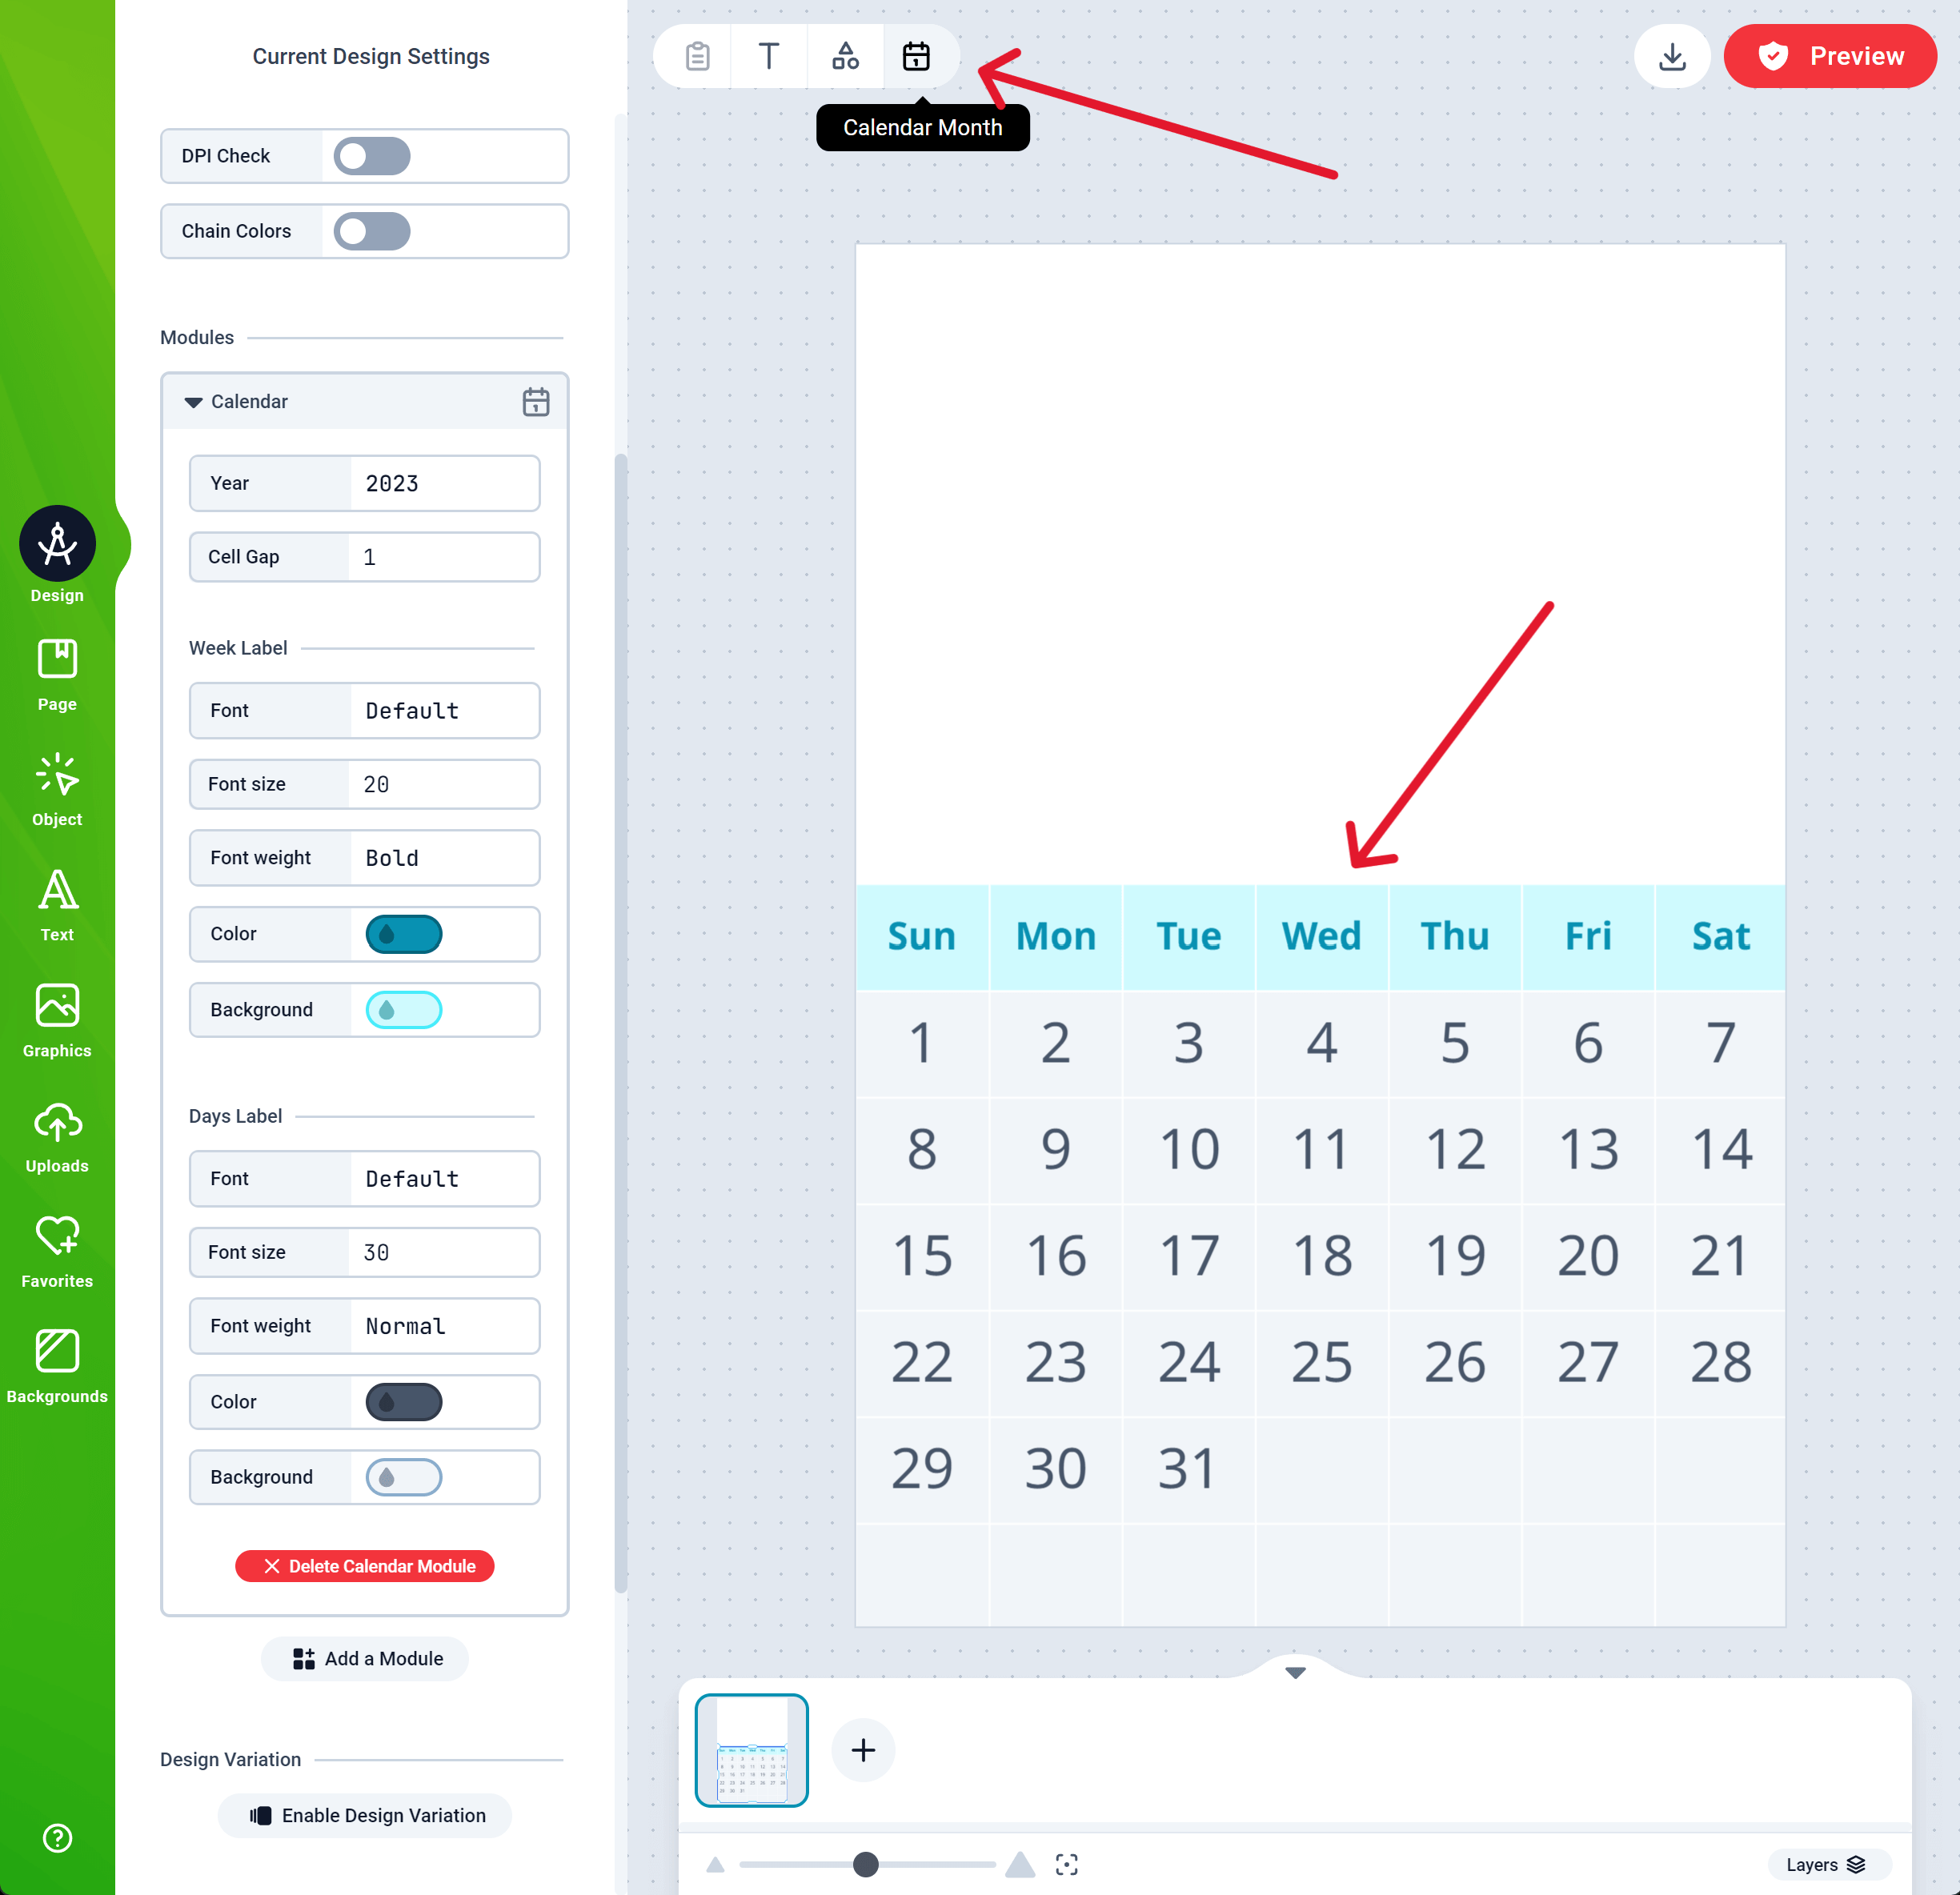
3
Pick the month
To change a month, select it and choose the month in the context menu.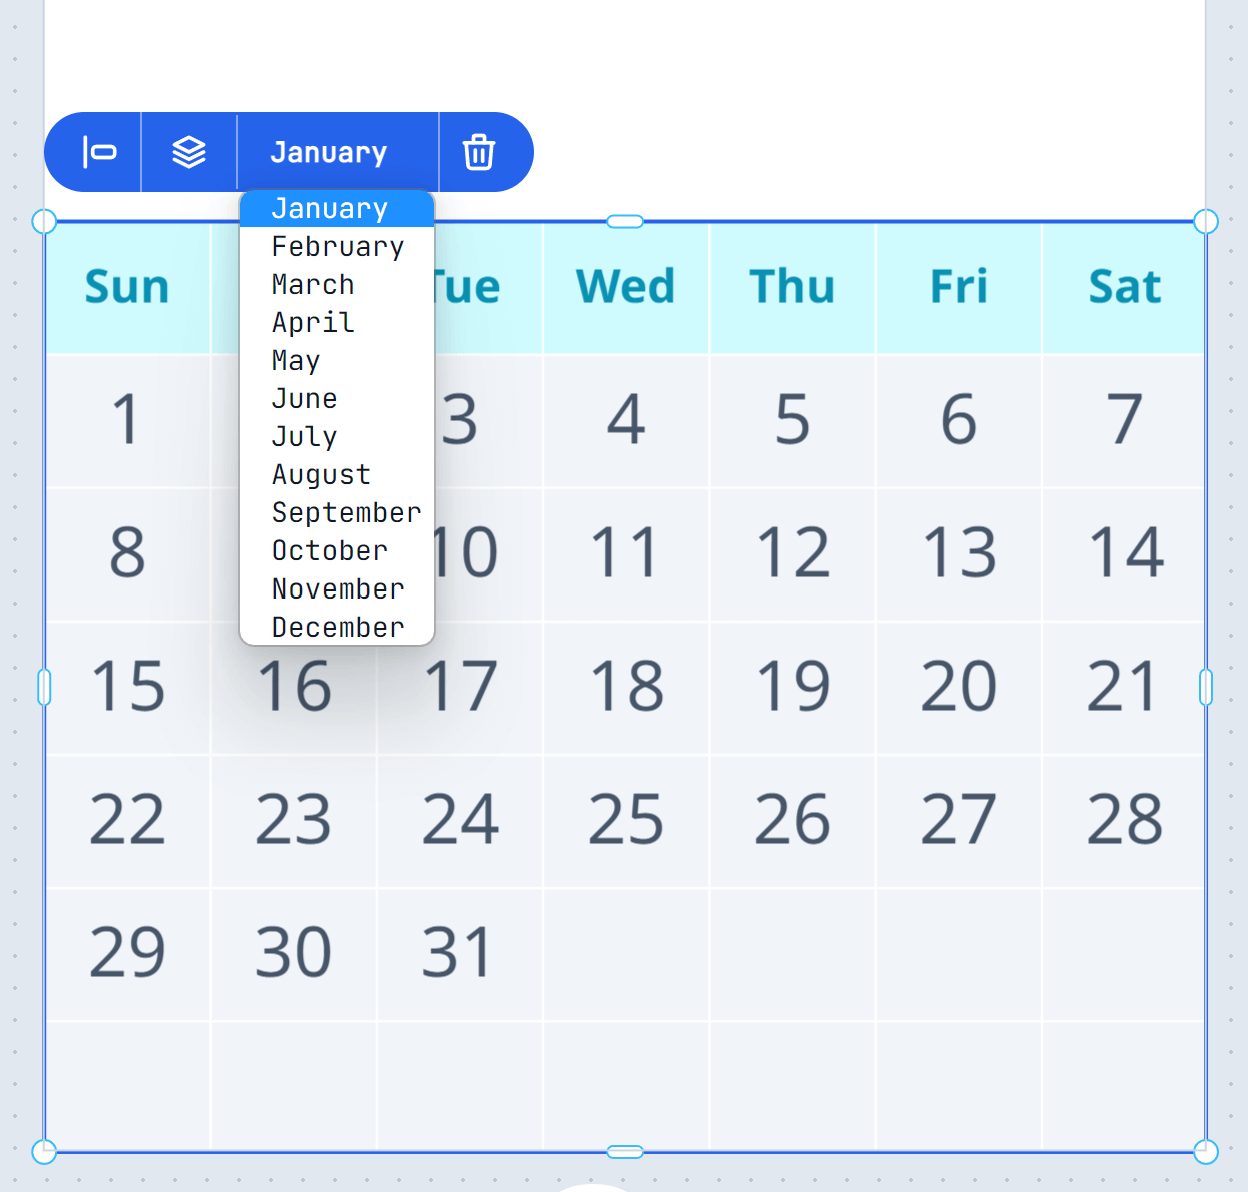
4
Style it
Choose a layout and style the calendar in the module’s settings on the left (see Settings below). Changes apply to every month in the design.
Layouts
When you switch layout, each month is re-fitted on its page, since a strip is wide and a list is tall.
Settings
The settings are grouped into the sections below. Options marked (Grid) only appear when the layout is Grid.General
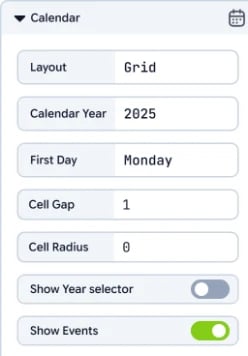
- Layout - Grid, Strip or List (see Layouts).
- Calendar Year - The year the months are drawn for.
- First Day - The day each week starts on in the Grid.
- Cell Gap - The space between cells. Set it to 0 for cells that touch.
- Cell Radius - Rounds the corners of the cell backgrounds.
- Show Year selector - Lets your customers change the year in the editor.
- Show Events - Shows the Calendar Events button, where events (birthdays, holidays) are added to dates.
Week Label
The day names (Mon, Tue, …).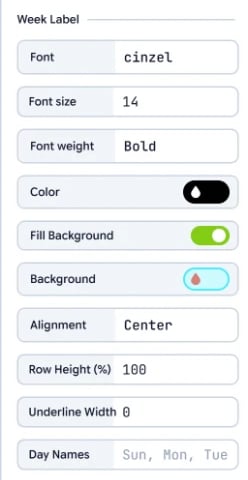
- Font, Font size, Font weight and Color - The day names’ text style.
- Fill Background and Background - Turn the day names’ background off, or pick its color.
- Alignment (Grid) - Left, Center or Right within each cell.
- Row Height (%) (Grid) - The height of the day-name row as a percentage of a week row. 100 makes it as tall as a week; around 30 gives a slim header.
- Underline Width (Grid) - Draws a line under each day name, for example a thick bar under bold headings. When it’s above 0, an Underline Color setting appears. At 0, the horizontal Lines settings apply under the day names instead.
- Day Names - Your own names, comma separated, starting from Sunday: for example
SUN, MON, TUE, WED, THU, FRI, SATorSunday, Monday, …. Keep them in Sunday-first order even when the week starts on Monday; the calendar reorders them.
Days Label
The dates.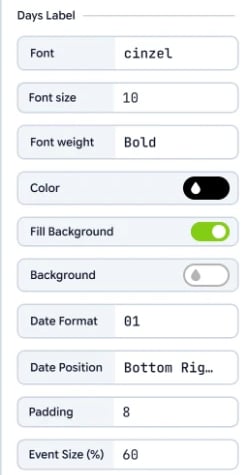
- Font, Font size, Font weight and Color - The dates’ text style.
- Fill Background and Background - Turn the date cells’ background off, or pick its color.
- Date Format -
1or01(two digits). - Date Position (Grid) - Where the date sits in its cell:
- Center - The date is centered, and the day’s events are printed underneath it.
- Top Left, Top Right, Bottom Left or Bottom Right - The date sits in that corner at full size, and the day’s events are centered along the opposite edge. A top-left date puts its events along the bottom of the cell.
- Padding (Grid) - The distance between the cell edge and a corner date, an event, or a left/right-aligned day name.
- Event Size (%) (Grid, corner positions) - The size of event names as a percentage of the date size. Long names shrink further to fit their cell.
Weekend
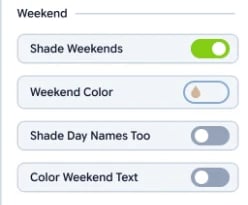
- Shade Weekends and Weekend Color - A background color for the Saturday and Sunday cells.
- Shade Day Names Too - Also shades the Saturday and Sunday day names, so the whole weekend column is shaded.
- Color Weekend Text and Color - A text color for weekend day names, dates and events. In the Grid, the weekend’s lines take this color too.
Lines (Grid)
Lines are drawn separately from the cell backgrounds, so you can combine them with backgrounds or turn the backgrounds off for a clean ruled look.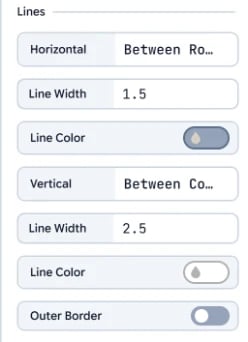
- Horizontal - Lines across the calendar:
- None
- Between Rows - Unbroken lines under the day names and between the weeks.
- Under Each Cell - A line under every cell, broken at the cell gap. With a Cell Gap above 0 you get separate underlines per day.
- Vertical - None or Between Columns.
- Line Width and Line Color - Set separately for horizontal and vertical lines. A white vertical line over colored cells reads as a gap between the columns.
- Outer Border - A frame around the calendar, using the horizontal and vertical line settings.
Example looks
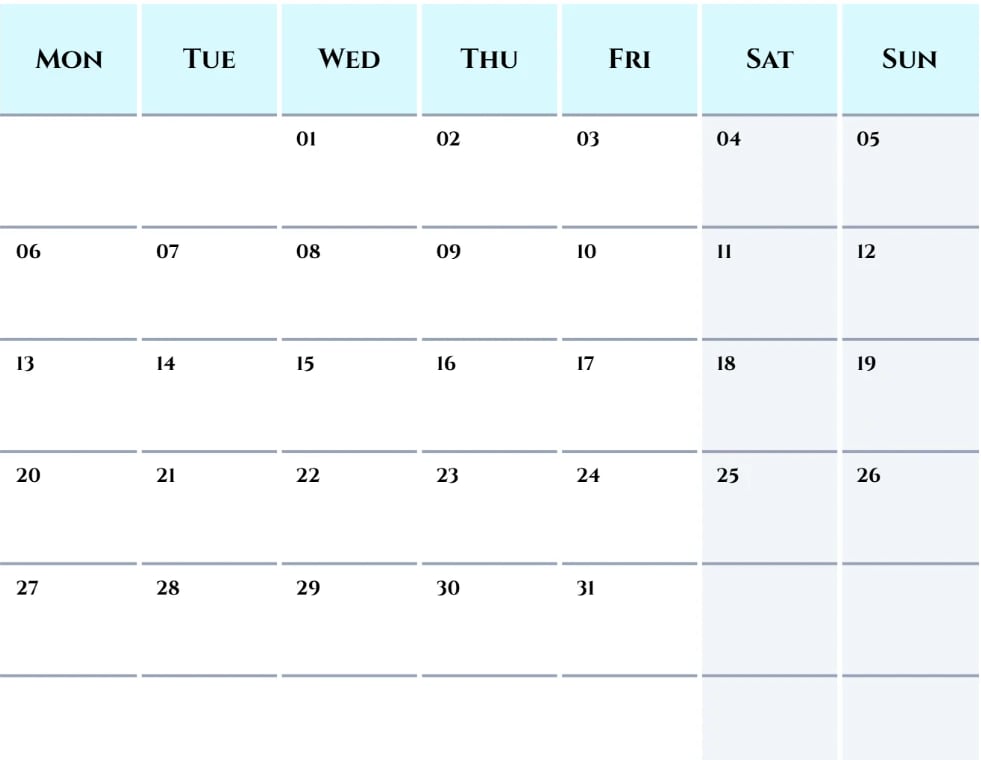
Top Left dates in the 01 format, lines Between Rows, white lines Between Columns, shaded weekends.
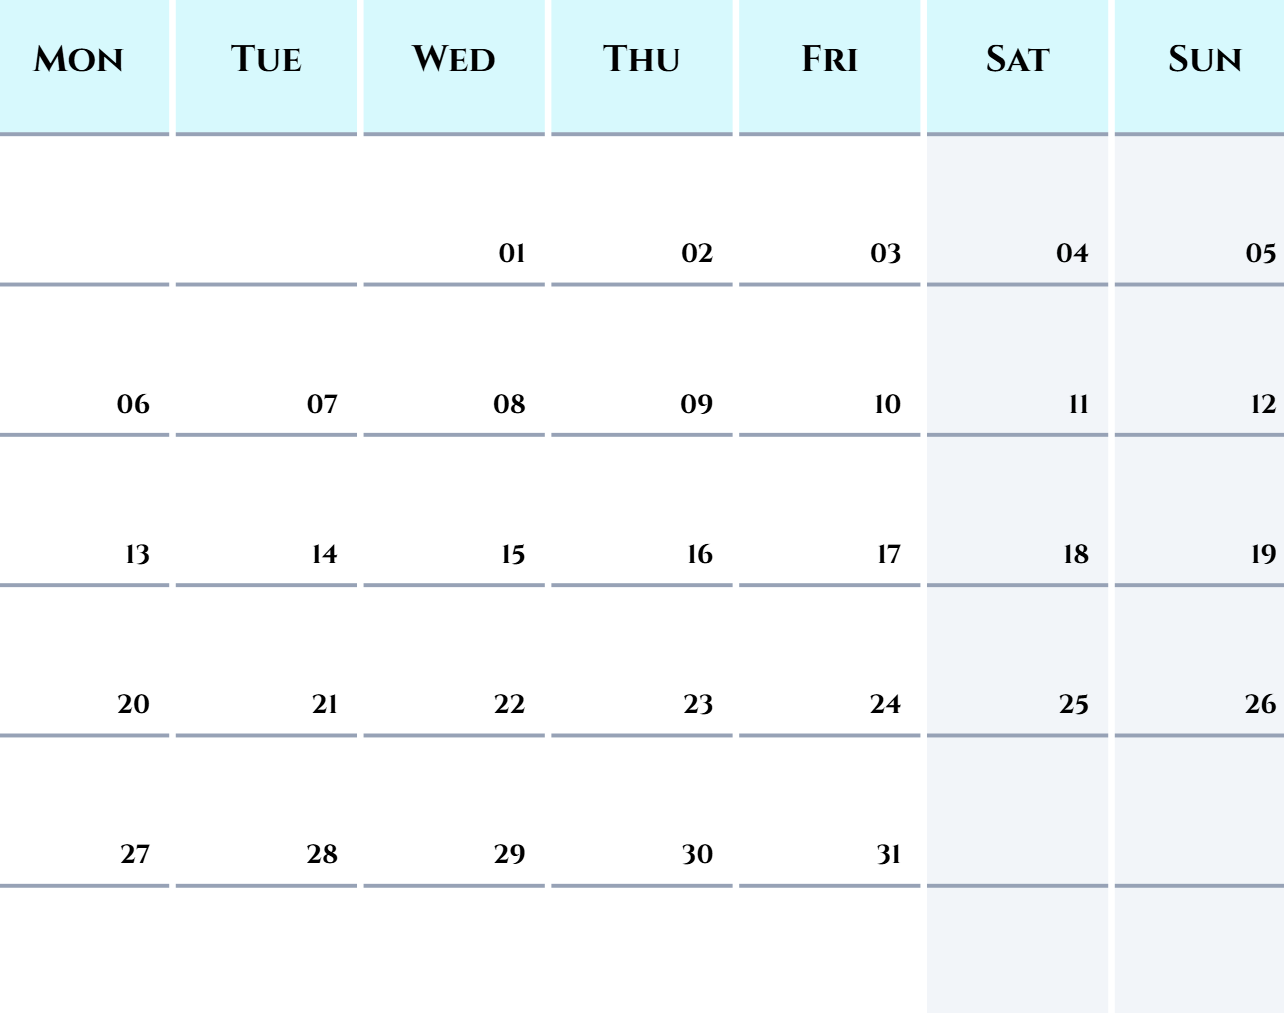
The same settings with Bottom Right dates.