Typical products
- Die‑cut stickers and labels
- Buttons, magnets, coasters
- Keychains, badges, name tags
- Packaging labels and event giveaways
Building blocks that help
- Stickers Generator for auto cut lines with margins
- QRCode for URLs, coupons or tracking
- Text Presets to limit options like size, finish or slogans
- Clipping Masks to confine artwork to circles or custom shapes
- Patterns for tiled backgrounds or textures
Patterns that work
Die‑cut stickers and labels
Use the Stickers module to generate a margin and a cut line from any object(s) on the canvas.- Place your text, shapes, and images; keep the page background transparent
- Configure margin and, if you allow it, let users adjust with the on‑canvas slider
- Keep small type and thin strokes above your print process minimums
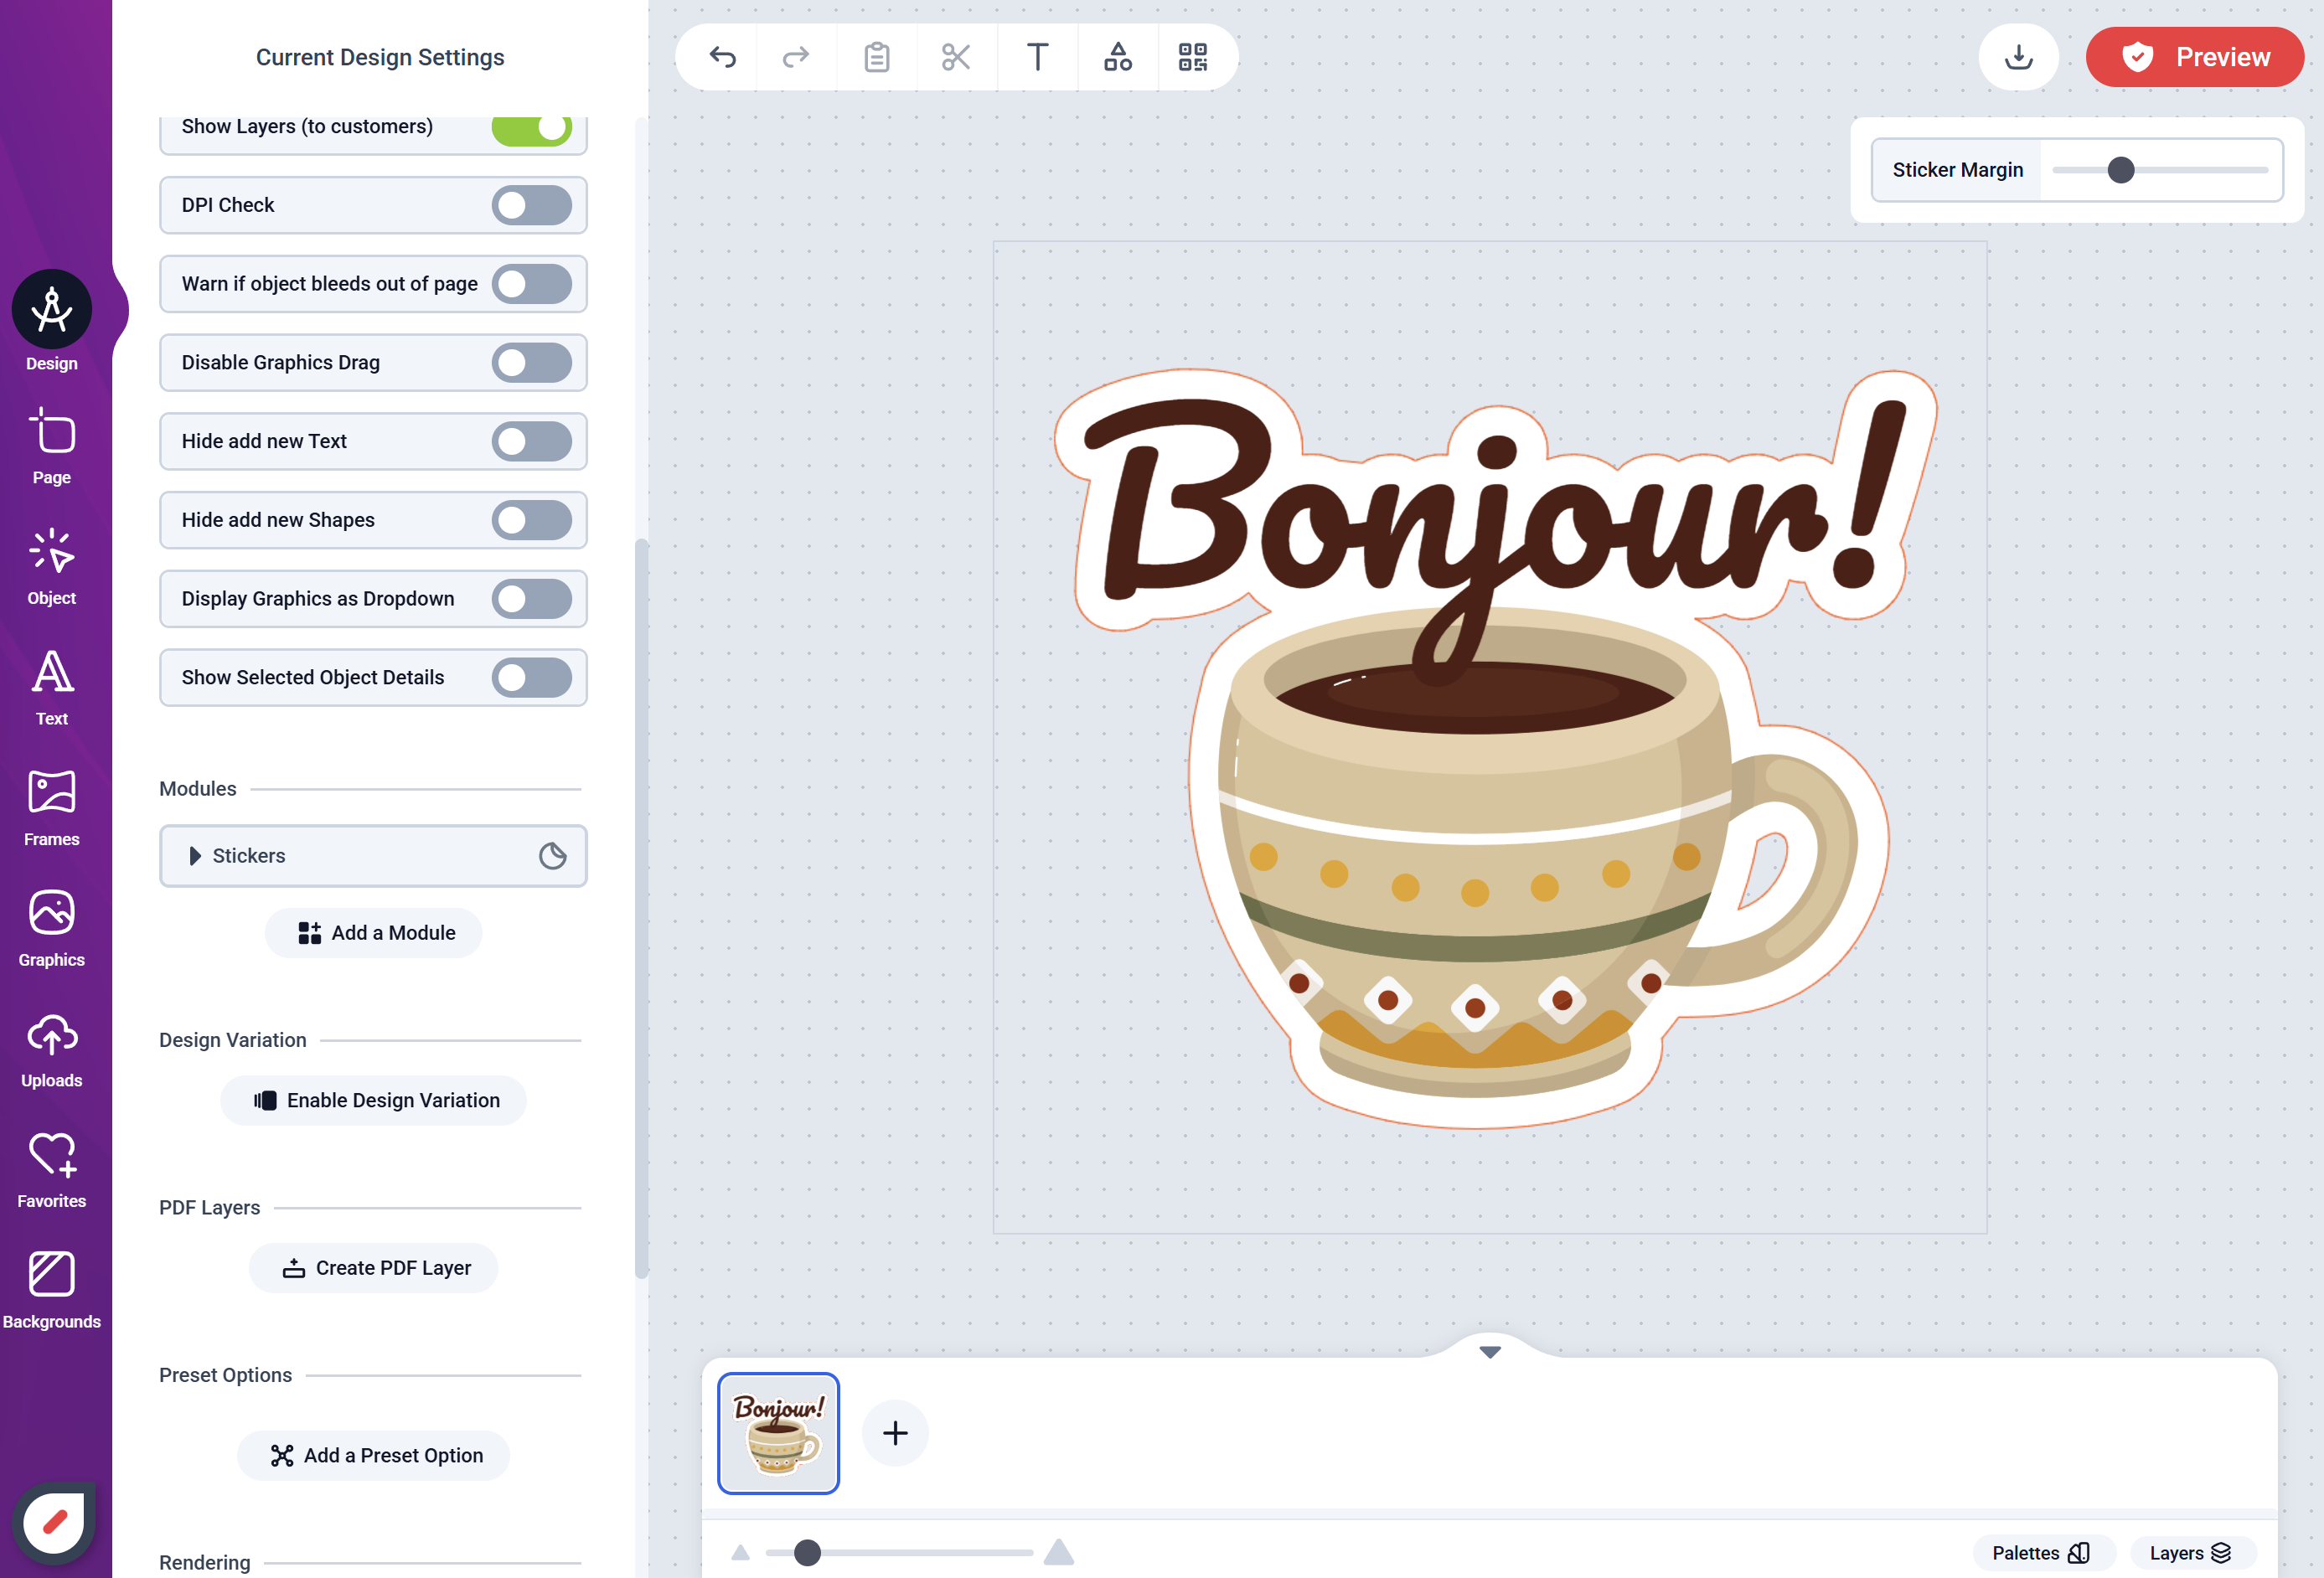
Text + Graphics with automatic cut line
Round buttons, coasters, badges
For circular items, use a circle clipping mask for the imprint area.- Add a visible safe area ring and an outer bleed guide layer
- Keep logos and type fully inside the safe area
- Use patterns or solid fills beneath the mask for easy colorways
Event giveaways with QR Codes
QRs are useful where space is tight.- Link to a landing page, coupon, or vCard
- Bind QR content to a text field so customer input updates the code automatically
- Reserve clear space (quiet zone) around the QR for scanning
Production guardrails
- Define bleed and margins in the Design; don’t rely on users to guess
- For labels, keep critical details clear of corner radii or perforations
- Prefer vector logos; for rasters, use sufficient resolution at final size
- If your workflow needs a specific cut/guide color, standardize it in your template layers
Scaling your catalog
- Create separate Designs for common shapes/sizes (circle 1.5 in, 2 in; rectangle 2×3 in, etc.)
- Duplicate a master layout and swap brand themes to grow SKUs quickly
- Use Presets to constrain text styles and options for consistency